The Secret to Perfectly Clean Slices for No-Bake Cheesecake Bars
From Messy Squares to Picture-Perfect No-Bake Cheesecake Bars
You know that feeling when your no-bake cheesecake bars look flawless in the pan, but the moment you slice into them, everything smears, squishes, and crumbles. Instead of neat, bakery-style squares, you end up with sloppy pieces that are hard to plate and even harder to photograph. It’s frustrating, especially when you’ve invested time, ingredients, and love into the recipe.
The good news is that clean slices are not about luck. When you understand how texture, temperature, and basic technique work together, your no-bake cheesecake bars start behaving the way you want them to. With a few small changes to how you prep, chill, and cut, you can turn every batch into neatly sliced bars that look as good as they taste.

The Secret to Perfectly Clean Slices for No-Bake Cheesecake Bars
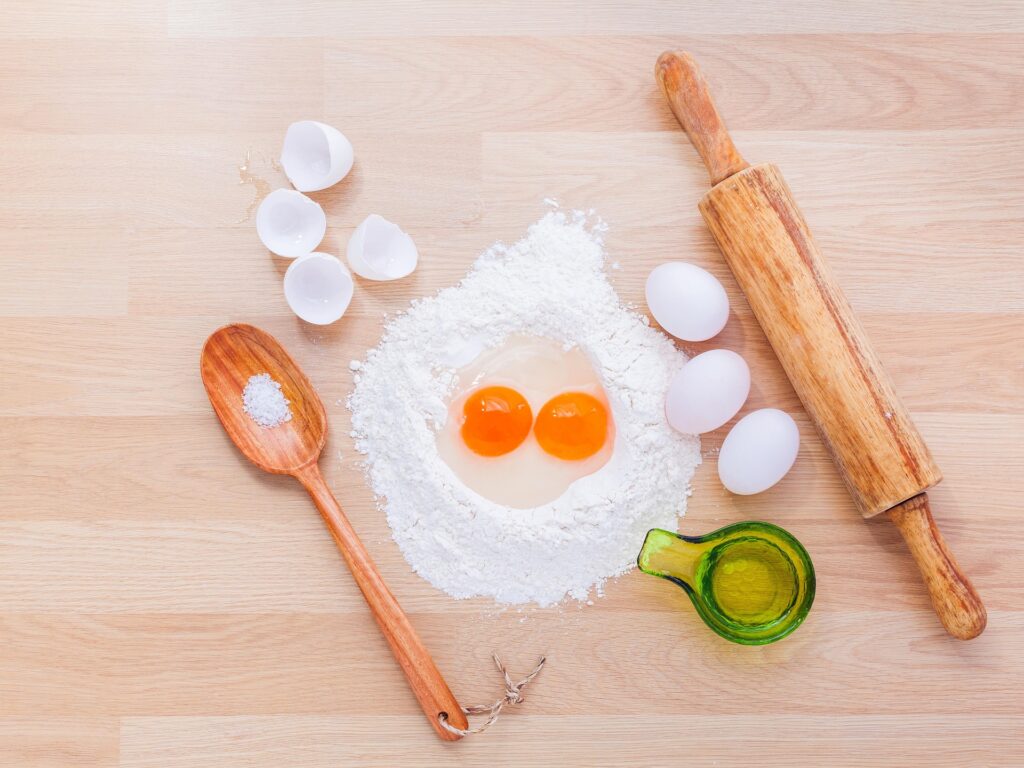
Ingredients
Method
- Line an 8×8 inch pan with parchment paper, leaving overhang on two sides.
- In a bowl, mix graham cracker crumbs and melted butter until evenly moistened, then press firmly into the pan to form an even crust; chill while you prepare the filling.
- Beat softened cream cheese until smooth, then add powdered sugar and vanilla and mix until creamy with no lumps.
- Whip heavy cream to stiff peaks in a separate bowl, then gently fold it into the cream cheese mixture until fully combined.
- Spread the cheesecake filling evenly over the chilled crust, smoothing the top with an offset spatula.
- Cover and refrigerate for at least 6 hours, preferably overnight, until firm.
- For clean slices, briefly chill in the freezer 15–20 minutes, lift the slab out by the parchment, warm a sharp knife in hot water, dry it, and cut straight down, wiping the blade between cuts.
Notes
How to Slice No-Bake Cheesecake Bars Without Mess
No-bake cheesecake bars rely on cold, not heat, to set. That makes them softer and less structured than baked cheesecake, which is why they so easily deform when you cut them. Your filling is built from cream cheese, cream or whipped topping, sugar, and possibly extra liquids like lemon juice, extracts, or sauces. When that balance leans too far toward liquid, your bars never fully firm up, and the knife pushes the filling instead of slicing it.
Your crust plays a big role too. A graham cracker or cookie crust can either hold everything together or fall apart the moment you lift a slice. If the crumb-to-butter ratio is off, the base becomes dry and crumbly or greasy and unstable. That’s why you often see the filling separating from the crust when you try to serve no-bake cheesecake bars.
Common problems you’ve probably seen:
- The filling squishes outward as you press down with the knife.
- The crust crumbles into loose sand when you lift a slice.
- Edges look ragged and smeared, not clean and sharp.
- Bars lean, sag, or collapse instead of standing tall.
Once you fix the foundation and control the temperature, most of these issues disappear.
Laying the Foundation: Pan and Crust Prep No-Bake Cheesecake Bars
Start with the pan. A square 8×8 or 9×9 inch pan is ideal for no-bake cheesecake bars because it gives you a good bar height and easy dividing lines. Line the pan with parchment paper and let it hang over two opposite sides like handles. This one step makes it much easier to lift the entire slab out later and cut on a flat surface, instead of wrestling with slices inside the pan.
Next, focus on the crust. You want a crumb mixture that holds together when pinched between your fingers. If it falls apart immediately, you need a little more melted butter. If it feels greasy or leaves a sheen, you’ve gone too far and may want to add more crumbs. Press the crust evenly into the pan with the flat bottom of a glass or measuring cup. Firm, even pressure helps you create a solid base that doesn’t crack when you cut.
For extra stability, chill the crust while you make the filling. Some bakers like to briefly bake the crust to lock it in, but even a good cold chill will help it set and slice more cleanly.
The Secret to Perfectly Clean No-Bake Cheesecake Bars
If you remember only one principle, make it this: your no-bake cheesecake bars must be fully chilled before you cut them. Most recipes say at least 4 hours, but if you want consistently clean slices, treat 6 hours or overnight as your standard. The deeper and taller your bars, the more chilling time they need.
When you cut too early, the center is still soft. Your knife compresses the filling instead of slicing through it, and that’s when you see bulging edges and squished centers. Giving the bars enough time in the fridge allows the filling to firm up and hold its shape.
For ultra-clean edges, use a short freezer step. Once your bars are fully chilled, place the pan in the freezer for about 15–30 minutes. This firms up the outer layer just enough to help your knife glide through without dragging. You’re not trying to freeze them solid; you just want them slightly more solid at the moment of cutting.
After slicing, you can let individual bars sit at room temperature for a few minutes so the texture softens and the flavor shines.
Tools You Need for No-Bake Cheesecake Bars
You don’t need fancy gadgets, but a few simple tools make a big difference:
- A long, sharp chef’s knife or slicing knife.
- A tall glass or mug of hot water.
- A clean kitchen towel or paper towels.
- A small offset spatula or pie server.
A sharp, non-serrated knife is your best friend for no-bake cheesecake bars. A dull blade pushes and tears the filling and crust, while a sharp one glides straight through. The hot water helps too. When you dip the blade into hot water, then dry it, the warm metal cuts the cold filling more cleanly.
The offset spatula or pie server is your support system. Once you’ve cut your bars, slide it underneath each piece to lift it without stressing the crust.
Portion planning also helps your dessert look intentional. Decide in advance if you want 9 large squares, 12 medium bars, or 16 smaller bites. Lightly mark cutting lines with the tip of your knife or with toothpicks before you make any deep cuts.
Step-by-Step: How to Cut No-Bake Cheesecake Bars for Clean, Bakery-Style Slices
Chilling No-Bake Cheesecake Bars for Clean Slices
- Lift the slab. Use the parchment handles to lift your no-bake cheesecake bars out of the pan and place them on a cutting board. This gives you room to work and keeps your knife from hitting the pan.
- Mark your grid. Lightly score the top of the bars where you plan to cut. This helps you keep the bars even and avoids awkward slivers at the edges.
- Warm the knife. Dip your knife into hot water, then dry it completely. You want a warm, clean blade.
- Make the first cut. Press the knife straight down in one confident motion. Avoid sawing back and forth one direct cut protects the sharp edges of the layers.
- Clean and repeat. After each cut, wipe the blade clean, dip it in hot water if needed, dry it, and make the next cut. This warm–cut–wipe rhythm is the key to neat slices.
- Lift gently. Slide your offset spatula or pie server under each bar, supporting both the crust and the filling, then transfer the piece to a plate or platter.
If your bars have toppings like fruit, chocolate, or whipped cream over the whole surface, you’ll notice those layers can smear. When presentation matters, it’s often better to slice the plain cheesecake bars first and then add toppings individually to each slice.
Troubleshooting: When Your No-Bake Cheesecake Bars Misbehave
If your bars turn out too soft to slice neatly, your best move is to give them more time. Put the pan back in the fridge for another hour or two, or use the freezer for a 20–30 minute boost. Don’t keep cutting if they’re clearly not ready; you’ll only create more damage.
For future batches, you can:
- Increase the cream cheese slightly.
- Reduce very liquid ingredients, like citrus juice or thin sauces.
- Add a stabilizing element if your recipe style allows.
If the crust crumbles, tweak the crumb grind and butter ratio. Finer crumbs and a touch more butter often create a stronger base. Press more firmly and chill thoroughly before adding the filling.
Bringing It All Together (and Inviting Your Reader to Act)
When you put all of this together solid pan prep, a well-bound crust, generous chilling time, the freezer assist, a sharp warm knife, and a patient cutting rhythm you transform your no-bake cheesecake bars from “tasty but messy” to “wow, did you really make these at home?”
Your next step is simple: pick your favorite no-bake cheesecake bars recipe, line your pan with parchment, and put these techniques to work. Pay attention to how your bars respond, and tweak the chilling time or crust mixture until you land on a system that works perfectly in your kitchen.
If you find these tips helpful, consider saving this guide, sharing it with a fellow baker, or leaving a comment on your blog or social channel about how your next batch of no-bake cheesecake bars turned out. Your experience can inspire someone else who is tired of messy slices and help your content earn the engagement that keeps it visible in search.
did you try this recipe ?
There are no reviews yet. Be the first one to write one.